
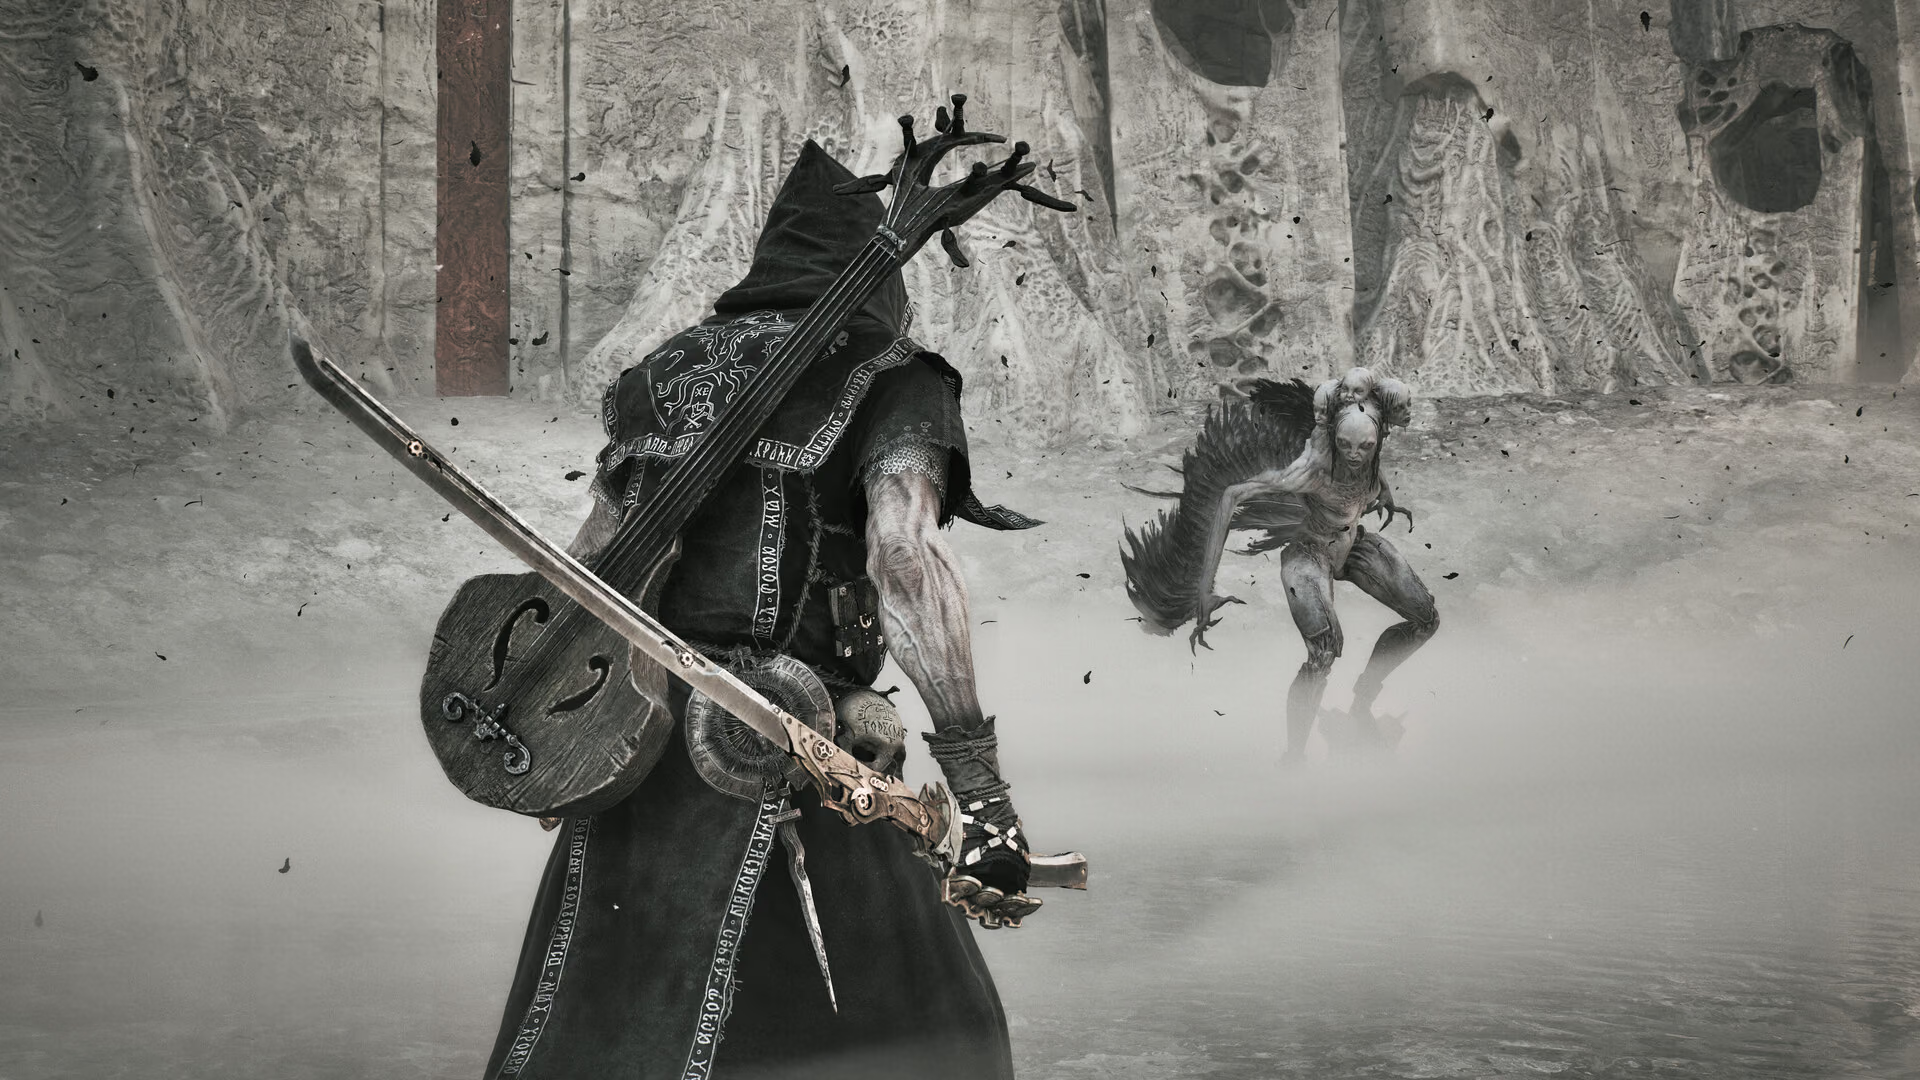
Spoiler-light route
- Finish the opening and use Marrow Keep as your hub.
- Test Shell abilities before investing heavily in bonding.
- Secure a main weapon and sidearm with complementary reach.
- Cleanse nearby Beacons and mark locked doors for a return visit.
- Spend resources before risky exploration and recover dropped Gloom after death.
The linked map, Shell, weapon, key, and boss pages handle specific detours without forcing a single linear route. Source 1Rock Paper Shotgun Mortal Shell II walkthroughOpen source
Region order without locking yourself in
Mortal Shell II rewards detours, so use this as a safe sequence rather than a mandatory line: Prologue, Widow's Overlook, Mushroom Village, Sunken Village, Flooded Village, Blackridge Cliffs, Gloomshade Grove, Holding Cells, Citadel of Penance, and Desolate Peak. The specialist walkthrough used for verification follows that order while collecting map parts, Shells, weapons, bosses, and Tarstones along the way.
Before leaving an area, activate its Beacon, open any visible shortcut, and note doors that require a named key. A locked route is usually a reason to return later, not proof that the run is broken.
The Week 1 Update added daytime Beacons in Fainweald and Mammon and a teleporter after the Grisha pit fight in one dungeon. It also revised dungeon rewards in the first two regions. A launch-week walkthrough may therefore show a longer return route or different chest rewards than the current build. Source 2The Week 1 UpdateOpen source
Early-game priorities
- Learn Harden and defensive timing. Practice against an ordinary enemy before a boss.
- Try equipment before upgrading it. Moveset comfort matters more than a borrowed tier ranking.
- Bank carried resources. Spend Gloom before entering an unknown dungeon or boss arena.
- Mark collectibles by region. This saves a full-world sweep when pursuing trophies.
- Keep one escape option. A ranged sidearm or quick weapon can cover a slow primary weapon.
Use the map guide to orient yourself, the Shell roster before committing upgrades, and the boss list when you reach a named encounter.
When the route becomes too hard
Return to a known Beacon, recover easy resources, and test another branch. Repeatedly forcing one boss while carrying unspent currency creates unnecessary risk. If a guide and your game disagree, check the latest patch notes, because balance and progression fixes may have changed since a launch-day walkthrough was recorded.
This route was checked on August 30, 2026. Later regions and discoveries should be verified against the live build before they are added here.
Before leaving the opening
Use the tutorial to learn Harden, dodge timing, the first safe weapon attack, and how death or recovery works. Do not rush past a one-time interaction when pursuing trophies; the current trophy roadmap identifies two tutorial objectives that cannot be revisited in New Game+. The trophy guide lists them without forcing full-route spoilers.
When the opening ends, confirm the first Shell, primary weapon, and sidearm are registered. If a trophy or inventory item is missing, stop before overwriting the only useful save.
Marrow Keep hub loop
Marrow Keep is the early organizational hub in the cited walkthrough. Source 1Rock Paper Shotgun Mortal Shell II walkthroughOpen source Use each return to spend carried resources, compare Shells, inspect weapons and Tarstones, check merchant inventory, and choose one next objective.
Keep a short hub checklist:
- Spend resources that would be lost on the next route.
- Upgrade one familiar primary weapon.
- Confirm healing and sidearm resources.
- Review locked doors, quests, and region notes.
- Back up before an irreversible trophy or mod test.
This prevents a long route from beginning with avoidable inventory or upgrade mistakes.
Widow's Overlook and Mushroom Village
Follow the specialist route as an orientation aid, not a mandatory completion order. Source 1Rock Paper Shotgun Mortal Shell II walkthroughOpen source In each region, activate the first convenient Beacon, open shortcuts, and record named locks. Mushroom Village is also the anchor for the Chapel Key route and Shrine of Trials, but that weapon detour can be left until the player is ready.
Do not search every branch during the first visit. Establish the path back before committing to a dungeon or key puzzle.
Sunken and Flooded Village routes
Treat connected waterlogged regions as navigation tests. Preserve a Beacon-to-landmark note, clear enemies that block the return, and avoid spending rare keys on a door whose name is not confirmed. If a route loops, mark the shortcut before following another branch.
The goal of the first pass is stable access. Collectible cleanup becomes easier after the region's entrances and exits are known.
Blackridge Cliffs and Gloomshade Grove
Use these regions to test whether the current Shell and weapon pair cover both mobile enemies and groups. If the build fails in ordinary fights, return to the hub before attempting a named boss or hidden dungeon.
Gloomshade Grove also connects to optional NPC and trophy routes documented elsewhere. Record dialogue choices before continuing when completion matters; do not rely on memory after several regions.
Holding Cells and Citadel of Penance
Later hostile interiors make run-back planning important. Activate the nearest Beacon, identify the arena entrance, and spend currency before a boss. If an encounter is designed around a particular defensive action, practice the input outside the arena.
The current trophy roadmap identifies a boss-specific missable in the Prisoner's Domain route. Use the trophy guide before finishing a relevant fight if Platinum is the goal.
Desolate Peak and named keys
Desolate Peak contains routes connected to the Crypt Key pickup and other optional interactions in current specialist guidance. Use a screenshot of the pickup and inventory, then log the distant lock separately. The Crypt Key guide covers the Hall of Echoes route without mixing it with the Chapel or Blackmarrow systems.
Named keys should always be tracked as pickup, door, dungeon, puzzle, and reward. A key icon alone does not prove which route remains unfinished.
Beacons and shortcuts
Before leaving any region:
- activate every discovered Beacon that is safe to reach;
- open both directions of visible shortcuts;
- record the hub connection and boss run-back;
- mark state-dependent NPCs or doors;
- take a screenshot of unresolved map landmarks.
The Week 1 Update added daytime Beacons in Fainweald and Mammon and a post-Grisha teleporter in one dungeon. Source 2The Week 1 UpdateOpen source If a launch walkthrough shows a longer route, prefer the live navigation option.
Shell and weapon commitment
Test a Shell and primary weapon on ordinary enemies before spending heavily. The Week 1 economy makes Glimpses and Tarcores renewable and adds Shell respec, but a stable first build still saves time. Source 2The Week 1 UpdateOpen source
Choose a sidearm that covers a missing job: range, interruption, crowd control, or a safe boss punish. The weapon guide and sidearm guide provide controlled test routines.
Boss attempt loop
Use the first attempt to identify one common combo, one defensive answer, one safe punish, and the phase transition. Preserve healing and Resolve for the first look at a new phase. Change only one build component between attempts.
If the boss is far stronger than the surrounding route, leave and explore another branch. Open-world order is a difficulty control, not a demand to defeat the first arena found.
Collectible cleanup
After the main route and shortcuts are stable, clean one collectible family at a time. Track Shells, primary weapons, sidearms, Tarstones, Beacons, and map fragments separately. Record nearest Beacon and inventory confirmation.
Do not start a broad cleanup from memory. The map guide explains how to verify community markers without claiming they are official or complete.
Patch disagreements
When the live game disagrees with a guide, separate the claim: route, enemy, reward, interaction, or map state. The Week 1 Update revised rewards, enemy and boss behavior, resource availability, save handling, and navigation. Source 2The Week 1 UpdateOpen source A guide can remain correct about geography while being wrong about the reward or timing.
Record platform, build, world state, and quest state before submitting a correction. Do not delete the save to reproduce a small mismatch.
Confirm a route segment is complete
Before moving to the next branch, confirm the last safe Beacon and intended shortcuts are active, the expected quest or boss state changed, and any required reward appears in the inventory or relevant menu. Record unresolved landmarks separately so a missing optional pickup does not become confused with blocked main progression.
When stuck
Return to the last known Beacon, spend carried resources, and answer whether the problem is navigation, ordinary combat, boss pattern, build damage, or a possible bug. Each needs a different next step. Use the map for navigation, equipment pages for build problems, the boss hub for fight preparation, and patch notes for version mismatches.
This spoiler-light walkthrough was rechecked on September 3, 2026. It gives a durable progression workflow while leaving exact late-game discoveries out until they have current, reproducible evidence.


