
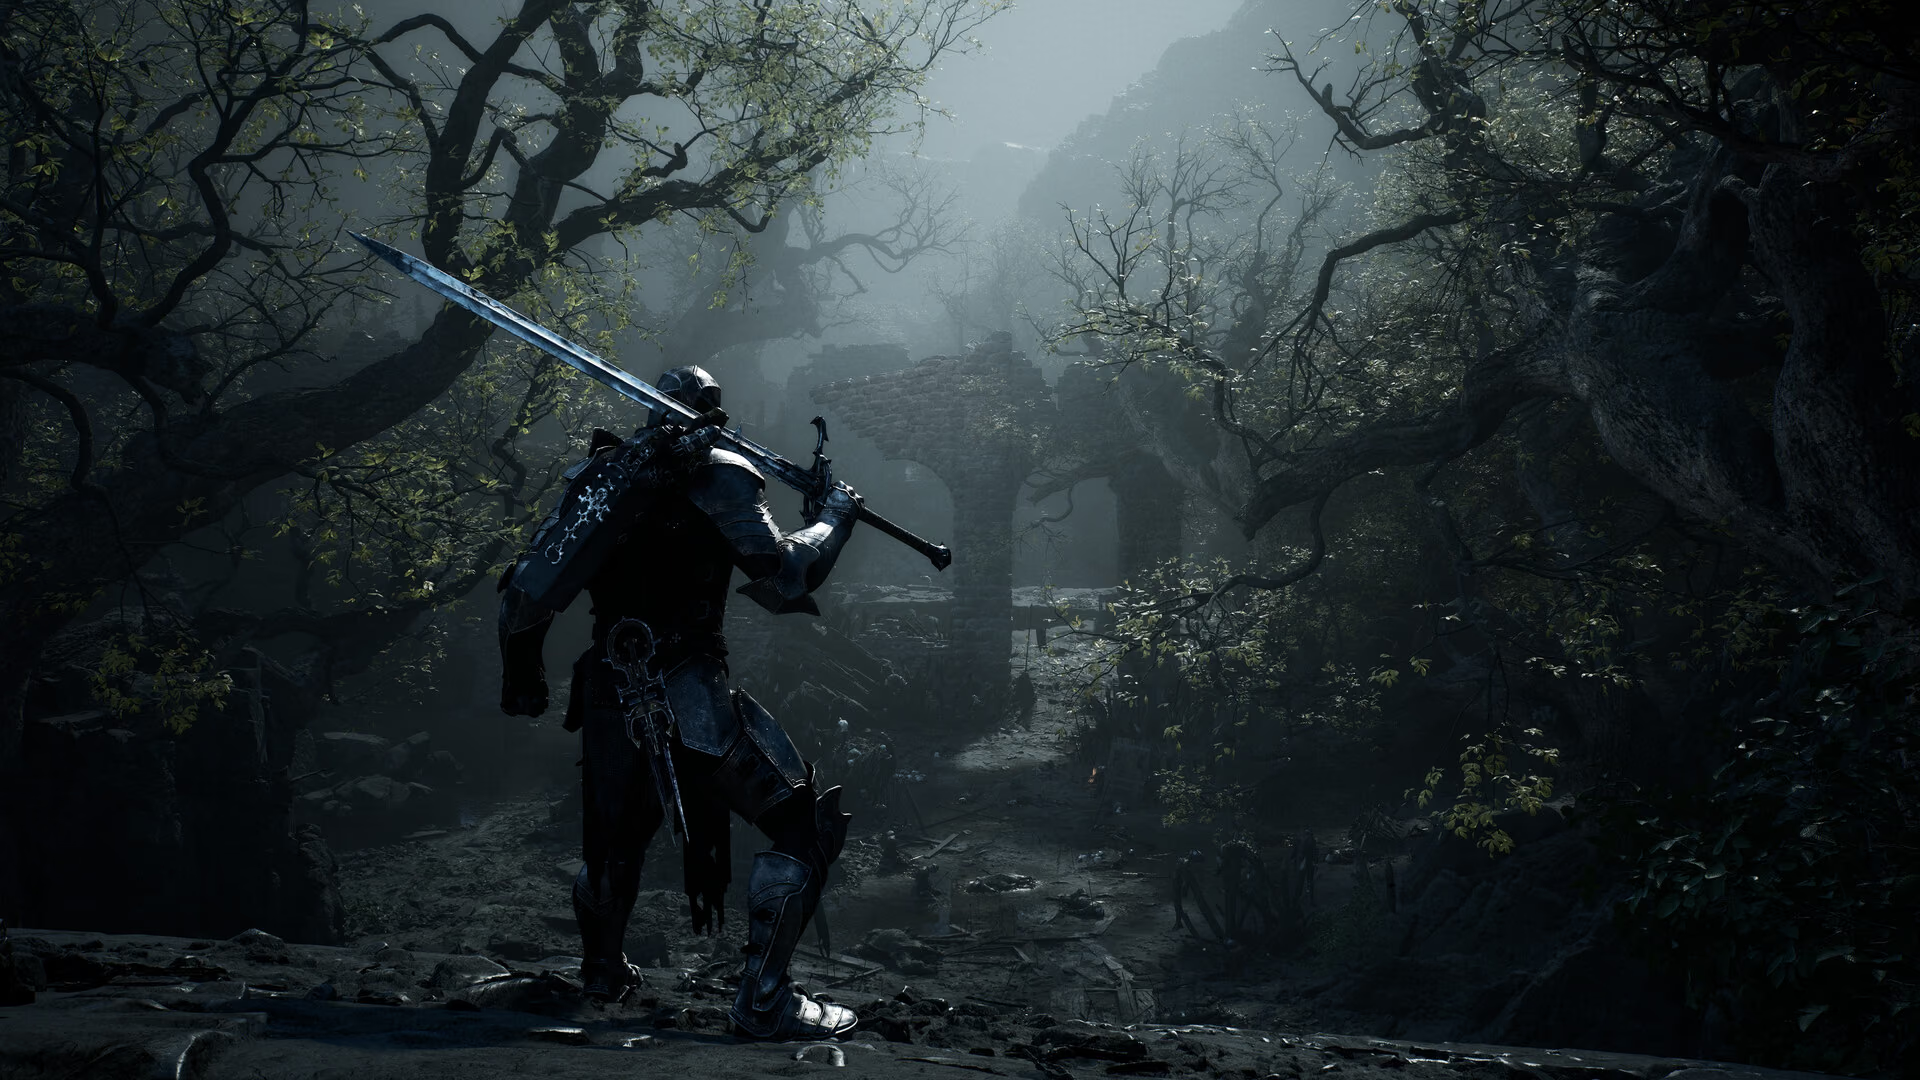
Troubleshoot a locked door
If the door remains locked, verify that you picked up the key on the same save and that your guide matches the installed patch. Source 1GameSpot Mortal Shell II Crypt Key guideOpen source
The pickup and the lock sit on opposite sides of Fainweald. That distance is intentional and is the main reason players assume they have found the wrong key. Record the two points separately before traveling:
| Step | Region | Landmark |
|---|---|---|
| Pick up the key | Western Fainweald, Desolate Peak | Ruined building near Baghead; wooden table inside |
| Open the door | Eastern Fainweald | Hilly area north of Grisha Hunting Grounds and south of Stones of Remembrance |
| Complete the dungeon | Hall of Echoes | Pressure-plate room beyond the tower door |
Where to get the Crypt Key
The key is in Desolate Peak, in western Fainweald. Find the ruined building across from Baghead's position and pick up the key from the wooden table inside. This is a simple item pickup once the area is reached; there is no need to defeat an unrelated boss for a random drop.
To reach Desolate Peak from the Citadel of Penance side, follow the sloping route down to the lower cliff. The cited guide uses the area just beyond the Bloodcursed Lithopod encounter as the jump-off point toward Desolate Peak. Source 1GameSpot Mortal Shell II Crypt Key guideOpen source Once Baghead's area is visible, search the ruined structure rather than the open ground. The key and a note are inside.
Clear enemies before entering and take the item from the wooden table. Open the key-item list immediately. If the pickup prompt played but no item appears, save and reload before making the cross-region trip; discovering the problem at the Hall of Echoes costs much more time.
Baghead's presence is a navigation anchor, not a requirement to finish every related request before collecting the key. Do not delay the pickup while searching for an unrelated boss drop or random enemy chance.
Where to use it
The lock is far from the pickup, in eastern Fainweald near the Stones of Remembrance and north of the Grisha Hunting Grounds. It opens the Hall of Echoes dungeon. That distance is the main source of confusion: finding the key does not mean its door is nearby.
Set a map marker at the tower door the first time it is discovered. When returning with the key, approach from the nearest known Beacon, clear the immediate hillside, and wait for the interaction prompt. The correct prompt should use the named key. If it does not appear, compare the nearby region labels with Stones of Remembrance and Grisha Hunting Grounds before testing another key.
Once the door opens, descend into the Hall of Echoes. A Coffin Eye occupies the tunnel, so do not sprint directly into the puzzle room with enemies following. The documented puzzle uses a stone block and pressure plate. Strike or move the block until it sits on the plate and opens the small reward chamber. Source 1GameSpot Mortal Shell II Crypt Key guideOpen source
Hall of Echoes rewards
The cited route records three notable rewards in the inner chamber:
- a Winterglass Gem, which the guide says can be sold to Merrick for 1,000 coins;
- Dorsalite, used at the Tarforge for weapon and sidearm upgrades;
- a Sheephead Totem, obtained from the sheep in the room, with a transformation active and a passive enemy-health reduction described by the guide. Source 1GameSpot Mortal Shell II Crypt Key guideOpen source
Treat prices and item text as patch-sensitive. Confirm the live tooltip before selling the gem, consuming upgrade material, or building around the totem. The durable route facts are the key pickup, Hall of Echoes door, pressure plate, and reward chamber.
Search the chamber before leaving. The sheep interaction can be missed if the room is treated as an ordinary loot chest. Record each reward separately; “Hall complete” does not prove that the totem was collected.
Efficient order for the Crypt Key route
Pick up the key when a route already reaches western Fainweald, even if the Hall of Echoes marker has not been found. Then continue normal exploration until eastern Fainweald opens. This avoids a special trip across the map with no other objective.
If the locked tower is discovered first, place a custom marker and write “Crypt Key — Desolate Peak.” Do not repeatedly return after every unrelated key pickup. Once fast travel is available, the two-point route becomes a short cleanup task rather than a blind hike.
Carry enough healing for the approach and the Coffin Eye, but spend rare upgrade resources before entering. The dungeon reward includes upgrade material, so a clean inventory note before entry helps verify what was actually gained.
Locked-door and puzzle fixes
If the correct tower remains locked, verify all of the following:
- The inventory contains “Crypt Key,” not Chapel Key or Blackmarrow Key.
- The key was collected on the current save slot.
- The door is north of Grisha Hunting Grounds and south of Stones of Remembrance.
- The door has not already been opened and the dungeon entered from another side.
- The guide and installed game are on compatible patches.
If the pressure plate does not trigger, clear the room, examine the block from the side, and use controlled attacks so it rests fully on the plate. If the chamber opens but a reward seems missing, compare the inventory before and after, then reload once. Avoid deleting or overwriting a save to repeat a small dungeon without a verified recovery path.
Keep the three key routes separate
The Chapel Key starts and ends around Mushroom Village and leads to the Shrine of Trials and Axe & Dagger. The Crypt Key crosses Fainweald and leads to the Hall of Echoes reward room. Blackmarrow Keys are connected to hidden Shade chests at Marrow Keep. Their names, locks, and rewards are not interchangeable.
Approach from a known Beacon, clear enemies around the door, and confirm the prompt before searching for another key. If the route guide and your landmarks disagree, use the region names rather than an unlabeled screenshot.
The Chapel Key opens the Shrine of Trials near Mushroom Village. The map guide explains how to log widely separated pickups and locks without losing the return path.
This route, puzzle, and reward list were verified against the cited guide on September 3, 2026. Future patches may adjust enemies, prices, or navigation, but the key should not be described as moved without new evidence.
Efficient Hall of Echoes run
Treat the pickup and lock as one planned journey across two regions. First confirm the Crypt Key on the Desolate Peak table and photograph its inventory entry. Then travel to the known Hall of Echoes door instead of searching every crypt-shaped ruin. Enter with room to finish the pressure-plate chamber and compare the reward inventory before and after opening it.
The documented room rewards are Winterglass Gem, Dorsalite, and Sheephead Totem. A later patch may change quantities or surrounding enemies without moving the key itself. Report those differences separately: pickup location, door state, puzzle behavior, and reward contents are four independent claims. A precise report lets another player identify whether the problem is navigation, interaction state, physics, or inventory registration rather than repeating the whole route blindly.
Keep the pre-entry inventory screenshot until every reward is confirmed; item icons alone can be mistaken for materials already carried from another dungeon.

