
Avoid the common key mix-up
Do not confuse this key with the Chapel or Crypt Key. If the interaction does not appear, re-check the chain mechanism and current patch before assuming the key was consumed incorrectly. Source 1Blackmarrow secret-room discussionOpen source
Blackmarrow Keys are cosmetic progression items. The current specialist guide connects them to eight Shell-specific chests in the elevator room at Marrow Keep; one key opens one eligible chest and unlocks that Shell's Shade. Source 3GamesRadar Blackmarrow Key and Shades guideOpen source The item does not open the Shrine of Trials or Hall of Echoes, and it should not be tested on ordinary locked doors.
Because keys are limited during ordinary exploration, the decision is not just “where is the lock?” It is also “which Shell's Shade should be unlocked first?” The chest for a Shell cannot be used before that Shell is found, which prevents some accidental spending but does not choose a priority for you.
Open the hidden room
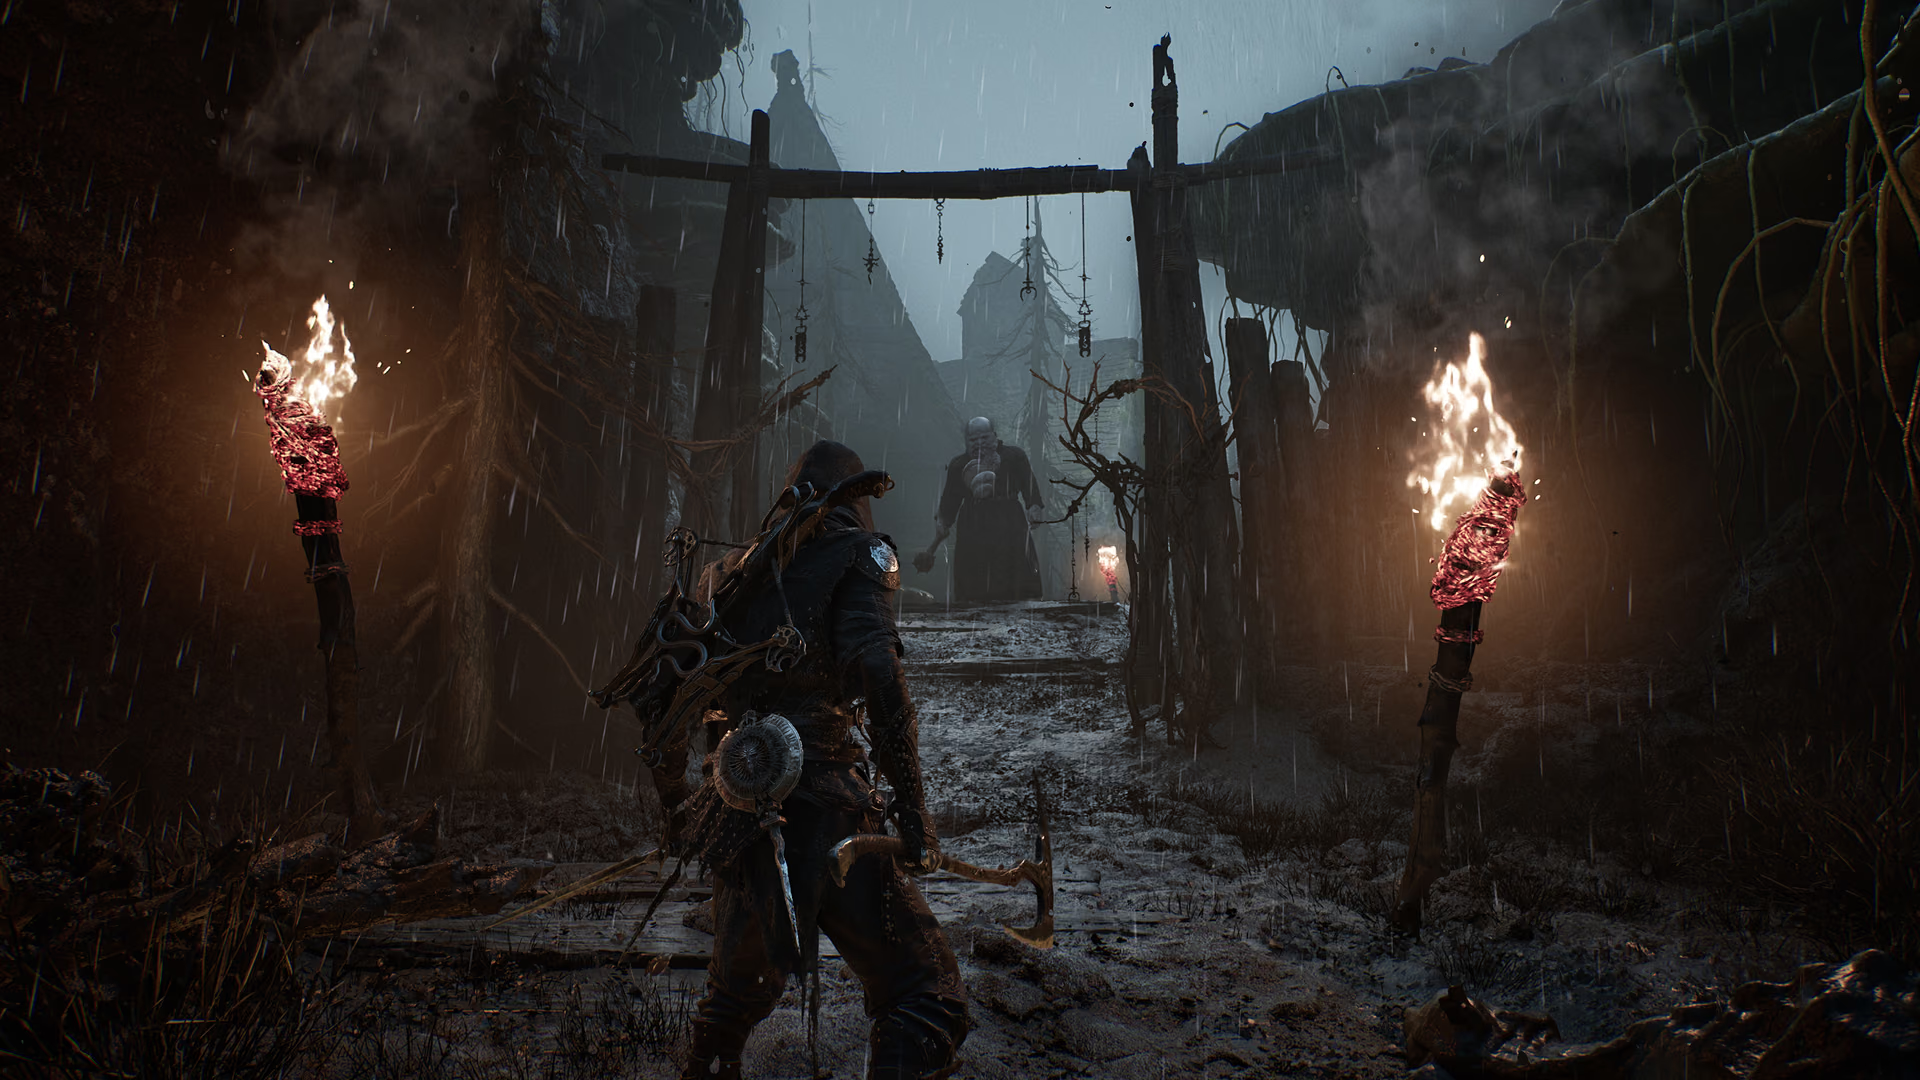
From the hub route shown in the video, strike the breakable wall, then shoot the four hanging chains behind it. The path opens only after all four are down. Source 2Blackmarrow secret room video routeOpen source Clear the enemies before searching the room so the pickup and any upgrade materials are not missed under pressure.
Explore the room fully and open the hidden chest containing the Blackmarrow Key. The video also records coin, a map, Ventrium, and other loot on the route, but those details should be checked against the live build rather than treated as a permanent fixed inventory.
The community route identifies a hidden dungeon in the Marrow Keep hub. Locate the breakable or false wall, enter the concealed space, and shoot the four hanging chains around the circular mechanism. Source 2Blackmarrow secret room video routeOpen source Check all four sides rather than firing repeatedly at the center. When the mechanism opens, follow the Desolate Keep route and defeat the Grisha before searching the remaining rooms.
The Week 1 Update added a teleporter after the Grisha pit fight, removing the return walk, and fixed an endlessly respawning Grisha in one dungeon. Source 4The Week 1 UpdateOpen source A launch-week video may therefore show a longer exit or a repeatable enemy behavior that no longer matches the current build. The secret route remains useful, but the travel and farming advice must be interpreted by patch.
Before opening any loot container, note the current Blackmarrow Key count. The room can contain several items, and a pickup animation alone does not prove that the key was added. Save a screenshot of the inventory and the nearest recognizable hub landmark.
Use the key at the hub
Return to the hub and follow the wall to the platform and coffin area shown by the route. One Blackmarrow Key opens one relevant coffin. Current community documentation associates these coffins with hidden Shades, including Bonegrafted and a Tiel cosmetic named in the source as Slytherin.
The more complete current Shades guide places the chests in the Marrow Keep elevator room and says each chest corresponds to one Shell. Source 3GamesRadar Blackmarrow Key and Shades guideOpen source Rest at a Beacon after the unlock and check the Shade selector for that Shell. If the new appearance is not listed, confirm that the correct chest opened and that the associated Shell is unlocked on the same save.
Known Blackmarrow Key sources
The GamesRadar guide says there are exactly eight keys but, at the time checked, lists only six locations and explicitly says the remaining locations will be added later. Source 3GamesRadar Blackmarrow Key and Shades guideOpen source That makes a partial list more accurate than pretending to offer eight complete routes.
| Documented source | Requirement or landmark | Verification note |
|---|---|---|
| Desolate Ruins / hidden Marrow Keep route | Secret room and dungeon sequence | Recheck after Week 1 teleporter and spawn fixes |
| Child's Feeding Ground Beacon | Search the Beacon area | Record the pickup before leaving |
| Conquered Temple Beacon | Behind the Ova | Check the exact object and inventory count |
| Tower near Sester's Abbey | Beneath the tower | Use the tower as the screenshot landmark |
| Abandoned Outpost merchant | Night Mode active | Confirm stock and price on the live build |
| Shrine of Sorrows dungeon | Night Mode active | Confirm the Night state before entering |
Two entries require Night Mode. Do not repeatedly search the daytime version and assume the guide is wrong. The two unlisted locations remain unconfirmed on this page; add them only when a route can be checked against a current source.
Choosing which chest to open
Prioritize the Shell you actually use. A cosmetic has no documented combat advantage, so opening a chest for an unused Shell does not strengthen the build. If two Shells are tied, preview their base appearance and confirm the chest association before spending.
Keep a simple ledger:
| Key obtained from | Key spent on | Shade confirmed | Patch |
|---|---|---|---|
| ☐ | |||
| ☐ | |||
| ☐ | |||
| ☐ |
This matters because the game has other cosmetic sources. The Devout Edition supplies eight Obsidian Shades, and the beta reward supplies a Flayed Harbinger appearance. Source 3GamesRadar Blackmarrow Key and Shades guideOpen source Those items do not prove a Blackmarrow chest has opened.
Troubleshooting a missing key or Shade
If the secret room does not open, inspect every chain and make sure a ranged shot actually breaks each connection. Clear nearby enemies so hit effects are visible. If the Desolate Keep route differs from a launch video, compare the installed update; the post-fight teleporter is expected after the Week 1 changes.
If a key is in the inventory but a chest has no prompt, unlock the corresponding Shell first and verify the room is the Marrow Keep elevator chest room. If a chest opens but the Shade is absent, rest at a Beacon, select the same Shell, and reopen the Shade menu. Restart once before repeating a long route.
If a merchant or dungeon key is missing, confirm that Night Mode is active for the two sources that require it. Do not activate a difficulty-changing state casually: read the Night Mode guide and protect the save first.
Patch and evidence boundary
The key system is documented through specialist and community evidence, not an official item database. The Week 1 Update also added two cosmetic rewards to the world after certain questlines, but it does not identify them in the patch text used here as Blackmarrow rewards. Source 4The Week 1 UpdateOpen source Do not merge those new cosmetics into the key list without a verified unlock route.
Check the skins and Shades guide after using a key. For general navigation, use the map workflow. Never try the Chapel or Crypt doors with a Blackmarrow Key; those have their own named routes.
This page was rechecked on September 3, 2026. It intentionally preserves the gap between the reported eight-key total and the six currently described sources.
What would close the evidence gap
To add another Blackmarrow source, the evidence must show the key pickup, a recognizable map or Beacon landmark, the required mode or quest state, and the resulting inventory change. A video that opens a coffin without showing where its key came from proves a Shade route, not a new key source. Likewise, a list that says “eight” without naming all eight locations does not justify two invented entries.
Record duplicate-looking merchants and dungeons separately until their names and map positions are confirmed. If the same source can be collected more than once, document the reset condition before calling it renewable. This standard keeps the route useful while allowing verified discoveries to expand it.
Do not spend a newly documented key until its pickup proof is saved.

