Use current-patch strategies
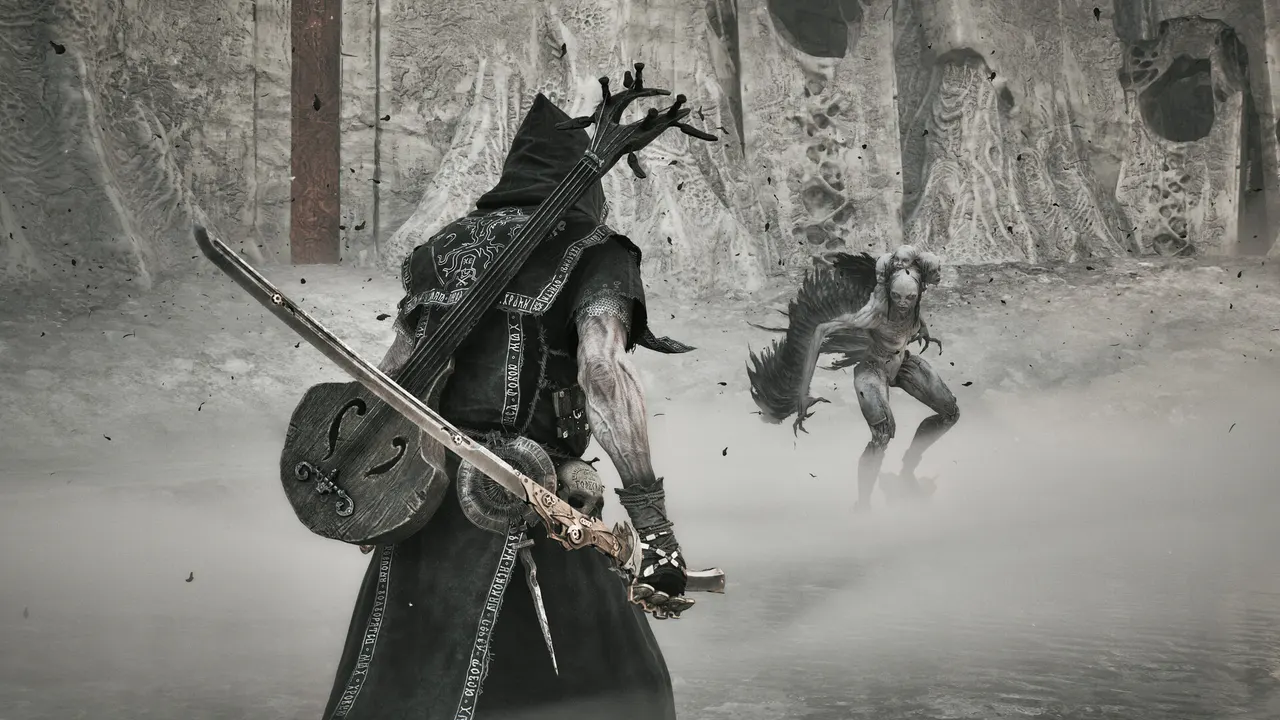
The Week 1 Update applied a general polish and bugfix pass to most bosses. The Monolith received timing, hitbox, animation, attack-spam, and double-damage fixes; Zmey, The Lost Child, Droeg, Sir Isaac, Hexapod, Orrem, The Warden, Urrig, and several other encounters also changed. Use current-patch guides rather than launch footage for exact behavior. Source 2The Week 1 UpdateOpen source
Main and optional encounters
The current boss reference separates progression encounters from optional fights. Documented main encounters include Droeg, the Conquerer; Gloombound Ritualist; Magdalena, the Lady of the Woods; Vrannic, the Grand Illusionist; Tar Golem; The Wandering Shepherd; Isaac, the Scholar-Prince; Hexapod; Nameless Captive; The Lost Child; Lucian, the Thirsting Knight; Vrago, Solikar Champion; Tarblighted Stoner; Infested Miner; and Gloombound Wraith. Source 1Fextralife Mortal Shell II bossesOpen source
Optional encounters include Great Arbiter of Flesh, Tainted Vestige, Circle of the Grasping Root, Prophet of Profane Infinities, Bloodcursed Lithopod, The Warden, Sester Secundus, and Vellen, High Lord of Mammon. This list reflects the source state checked on August 28, 2026 and may expand as late-game documentation improves.
A repeatable preparation loop
- Activate the closest Beacon and spend carried currency.
- Enter once to observe range, delayed attacks, and phase transitions.
- Choose one move you can punish without trading damage.
- Equip a sidearm for the encounter's real problem: distance, interruption, or crowd control.
- Change only one build variable between attempts so the result is readable.
If the arena is dramatically harder than the surrounding region, leave and follow another branch of the walkthrough. Open-world route order can create large power differences.
Spoiler and patch policy
This hub avoids phase-by-phase spoilers. A specific fight guide should state its tested patch and separate confirmed mechanics from player theory. Consult the difficulty page for broader adjustments and the patch-notes page before relying on exact health or damage claims.
How to read the boss roster
The specialist source mixes progression, dungeon, and optional encounters, and community documentation can expand after release. Source 1Fextralife Mortal Shell II bossesOpen source Use the list to confirm that a named enemy is treated as a boss, not to infer a mandatory linear order. Mortal Shell II's open routes can bring two players to different encounters with very different upgrade levels.
Keep a personal log with the boss name, region, nearest Beacon, arena entrance, reward, and patch. Mark an encounter complete only after the reward or progression state registers. Similar enemy variants and rematches should not be merged without evidence.
First-attempt observation plan
Use the first attempt to answer five questions:
- Which attack starts the most common combo?
- Which move leaves the first dependable recovery?
- Does the boss delay, track, or redirect the final hit?
- What changes at the phase transition?
- Where can the camera and arena geometry become dangerous?
Attack once after the clearest recovery, then exit. A short punish that works every cycle produces more progress than an optimized string that trades damage. Only extend the combo after the same opening has been recognized several times.
Defensive answers
Choose one defensive answer per move rather than one answer for the entire fight. Dodge a grab that ignores a trade, Harden through a predictable single impact when the current Shell supports it, and reposition before a delayed area attack. If parry or riposte is part of the plan, practice its timing on an ordinary enemy first.
The Week 1 Update changed riposte scaling and corrected several boss hitboxes, timing issues, double-damage events, and attack loops. Source 2The Week 1 UpdateOpen source A launch video can still show arena layout, but it should not be treated as current frame or damage evidence.
Build preparation
Spend carried Gloom before entering an unknown arena. Equip healing and a sidearm that solves a real problem, such as interruption, range, or pressure during a long recovery. Do not replace several build components between attempts; the result will not reveal which change mattered.
| Failure pattern | First adjustment |
|---|---|
| Dying before seeing phase two | Shorten punishes and learn the opening phase |
| Boss stays outside melee range | Add a dependable ranged sidearm or repositioning tool |
| Adds overwhelm the camera | Create a lane and use controlled crowd coverage |
| One attack causes most deaths | Practice only its cue and defensive response |
| Damage is extremely low | Leave, upgrade one known weapon, and return |
| Guide behavior does not match | Compare patch, platform, and phase conditions |
Phase transitions
Enter a transition with healing, Resolve, and camera control rather than spending every resource to finish the prior phase quickly. The first seconds of a new phase are for observation. Watch whether range, tempo, arena hazards, or summoned enemies change.
If a cutscene interrupts combat, release held inputs and wait for control to return before committing an attack. Preserve a backup before a final or progression-critical encounter where the platform permits it. A transition bug should be reported with the cutscene state and respawn result, not only the boss name.
Main-path versus optional fights
Optional encounters can be tuned above the surrounding route or gated by an item, mode, or hidden trigger. Their reward may improve a later main-path build, but that does not mean they must be defeated immediately. Leave when repeated attempts consume resources without teaching a new response.
For progression bosses, verify the arena exit, reward, or quest state after victory. For optional bosses, record the trigger and whether the encounter remains available after leaving. The current source covers both categories, but its label is not a guarantee about permanent missability. Source 1Fextralife Mortal Shell II bossesOpen source
Run-back and recovery
Activate the nearest Beacon and open shortcuts before serious attempts. Clear only enemies that can hit during the approach or follow into the arena. If dropped resources are inside, decide whether recovery is possible without turning the attempt into a panic sprint.
Take a screenshot of the arena entrance and nearest landmark. This helps distinguish an incorrect boss route from a missing spawn or completed encounter. The map workflow provides a repeatable way to log Beacon-to-arena paths.
Troubleshooting a broken encounter
If a boss disappears, stops progressing, or fails to reward victory, record the platform, patch, boss phase, last action, cutscene state, death state, and respawn location. Restart the game once without deleting the save. Check the official patch notes for a named fix before attempting an unsupported rollback.
Disable PC mods and reproduce on a clean copy when possible. Do not claim a patch fixed every boss issue simply because the official notes include a broad polish pass; report the repeatable symptom.
This hub was rechecked on September 3, 2026. It intentionally avoids unsupported health values and one-build prescriptions while giving every encounter the same preparation, observation, and verification workflow.
Post-victory checklist
After a boss falls, wait for every cutscene, reward, and area transition to finish. Confirm the inventory or quest change, open the exit, activate any new Beacon, and verify a related trophy before quitting. If the character dies during a victory cutscene or respawns into an empty arena without progression, preserve the save and record the exact sequence.
Do not immediately enter New Game+ or trigger another major state change. A clean post-fight record can distinguish a defeated boss with a failed reward from a fight the game never registered.
Keep that record until the next checkpoint saves normally.
Then preserve one verified backup.